Throughout the software you can copy and paste specific data. This allows you to easily create, transfer and reallocate data across Functional Locations, Components, Tactics and more.
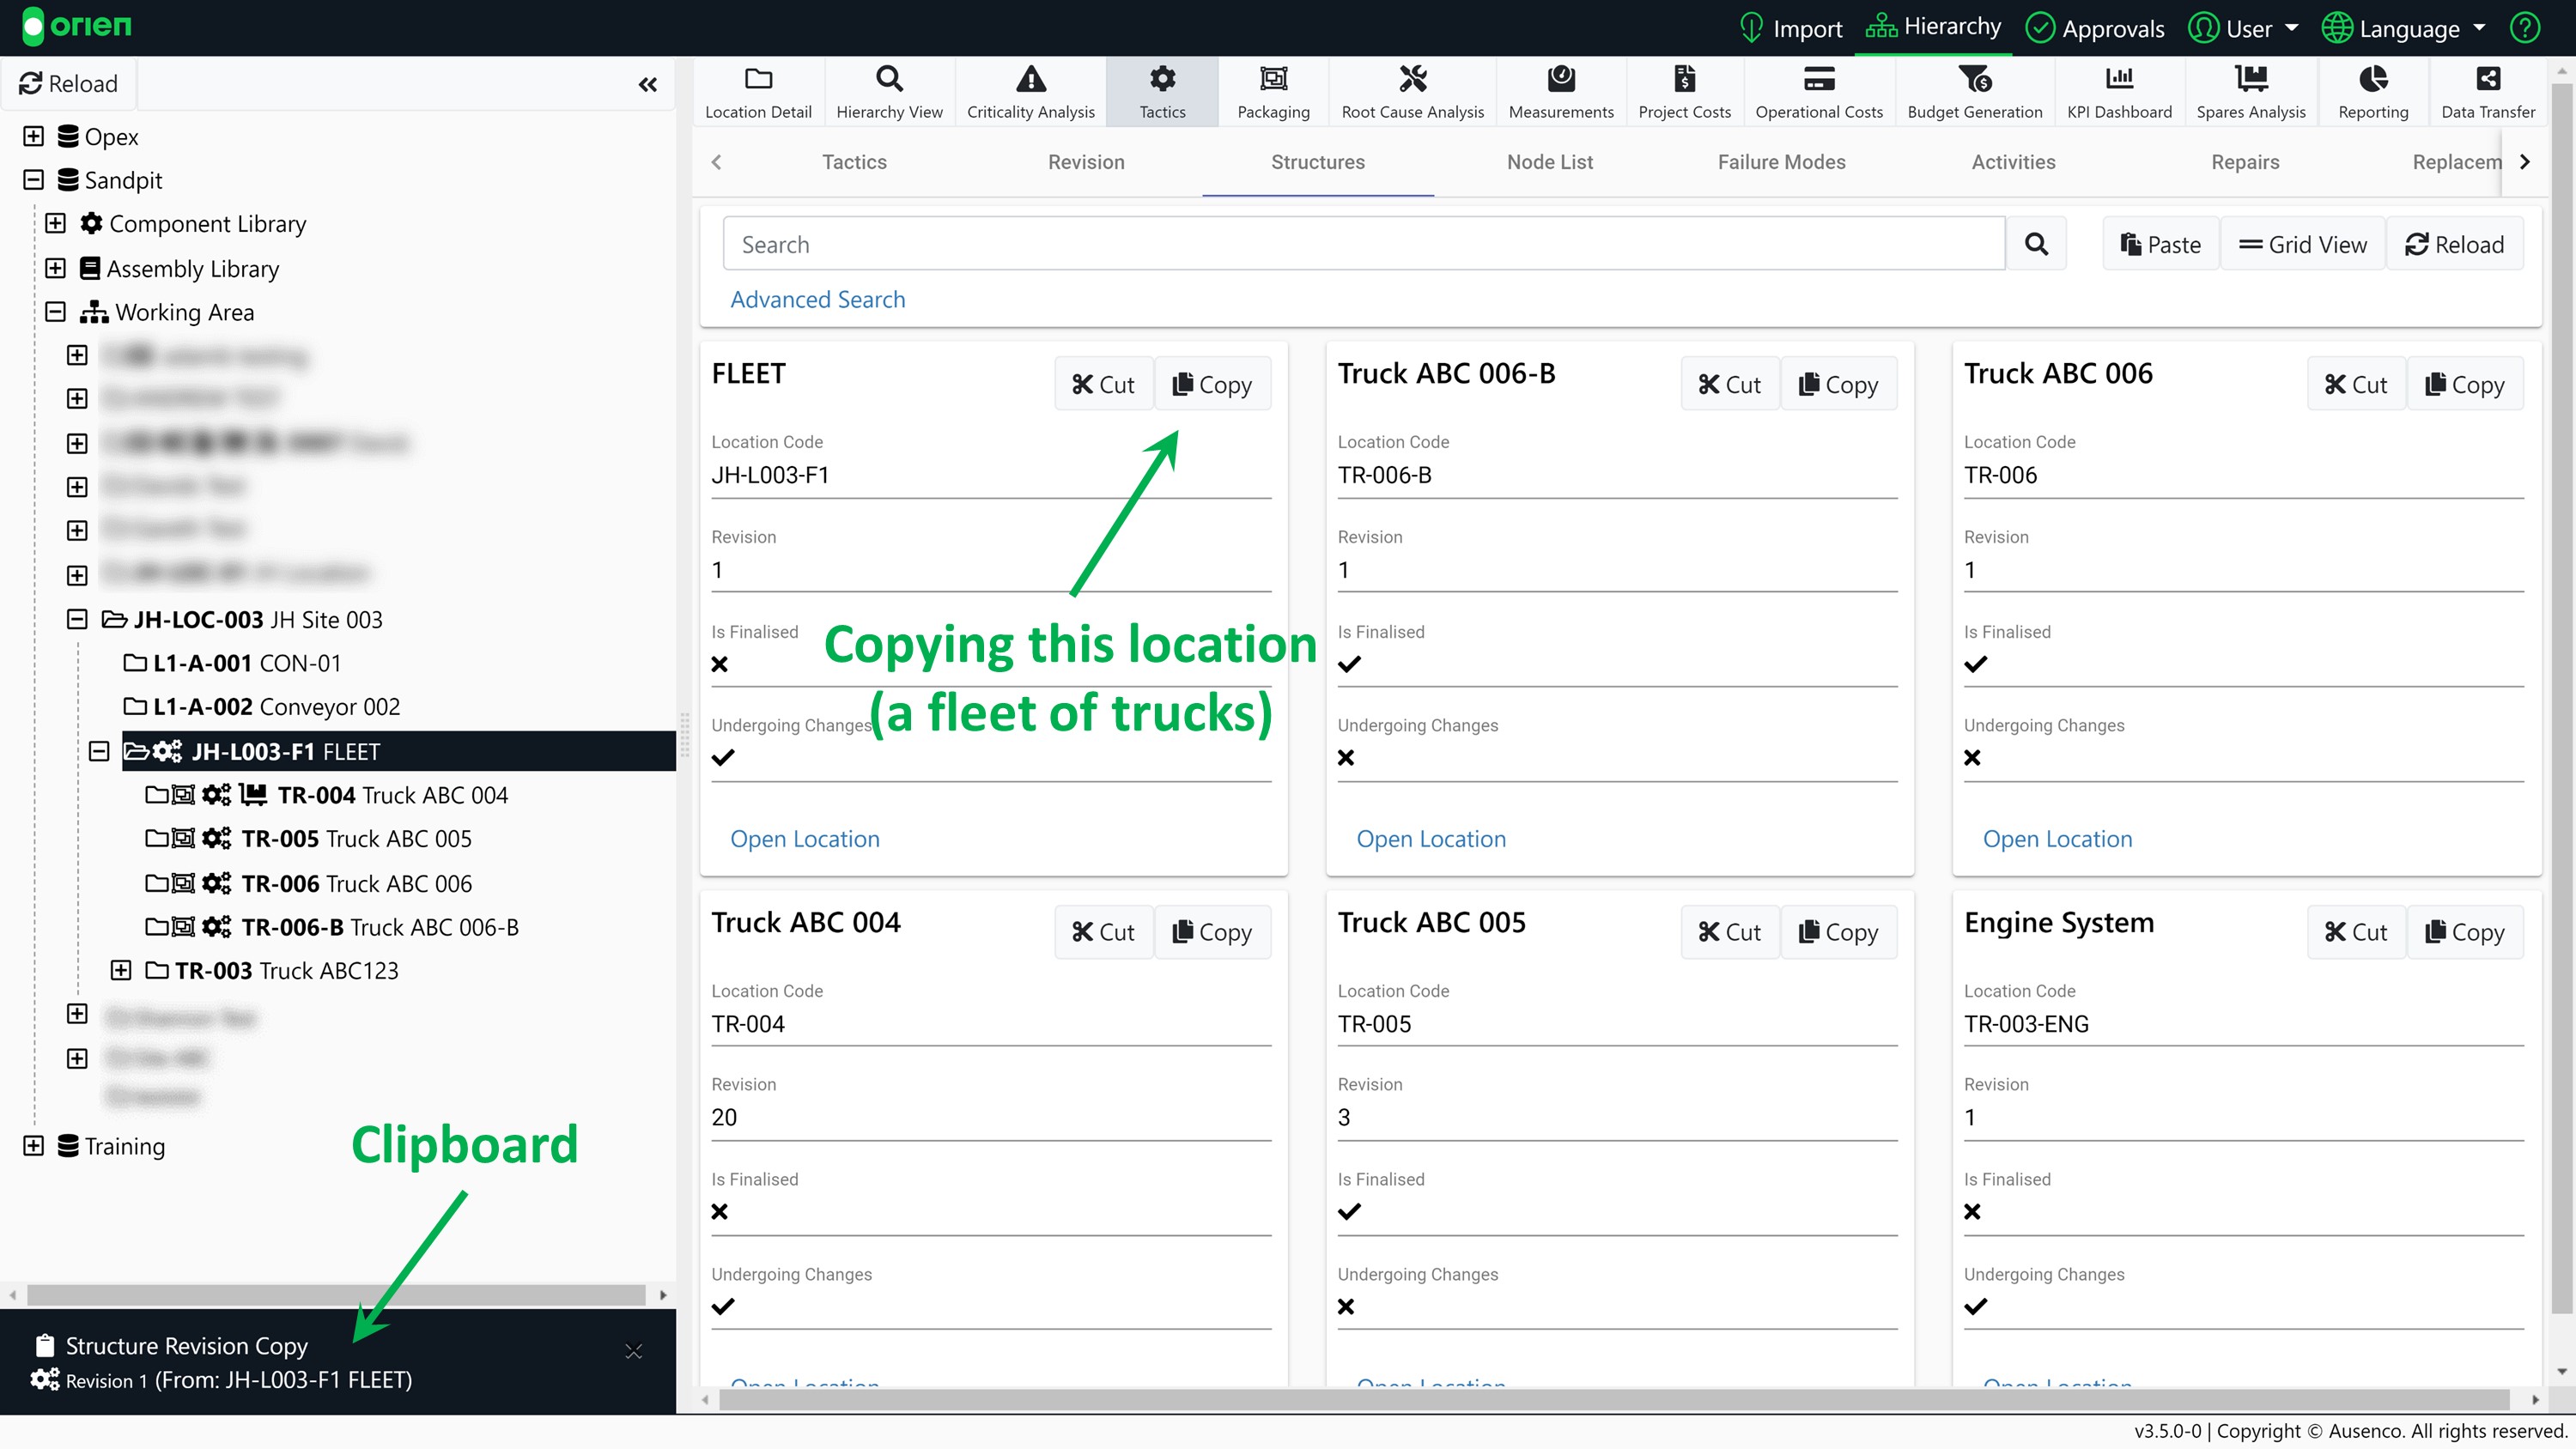
- COPY allows you to take a copy of the current data and save it to your clipboard (which is located below the Hierarchy).
- CUT allows you to move locations and data. Cut will take the existing item you have selected, and once you Paste the item, the data will be copied to the selected location and deleted from the previous location in the software.
- PASTE allows you to put the item you have copied or cut into the selected location in the software. When you go to Paste, you will be presented with options surrounding your Paste.
Click on each of the actions below for information on the key terms displayed during the copy, cut and paste process.
Note
Full Copy will not copy Measurements, Criticality Analysis, Root Cause Analysis, or other asset specific data that would not generally be duplicated across assets.
To Copy or Cut a Functional Location:
- Choose a location and select Copy or Cut. In the example below, we are making a copy of Truck Fleet 1.
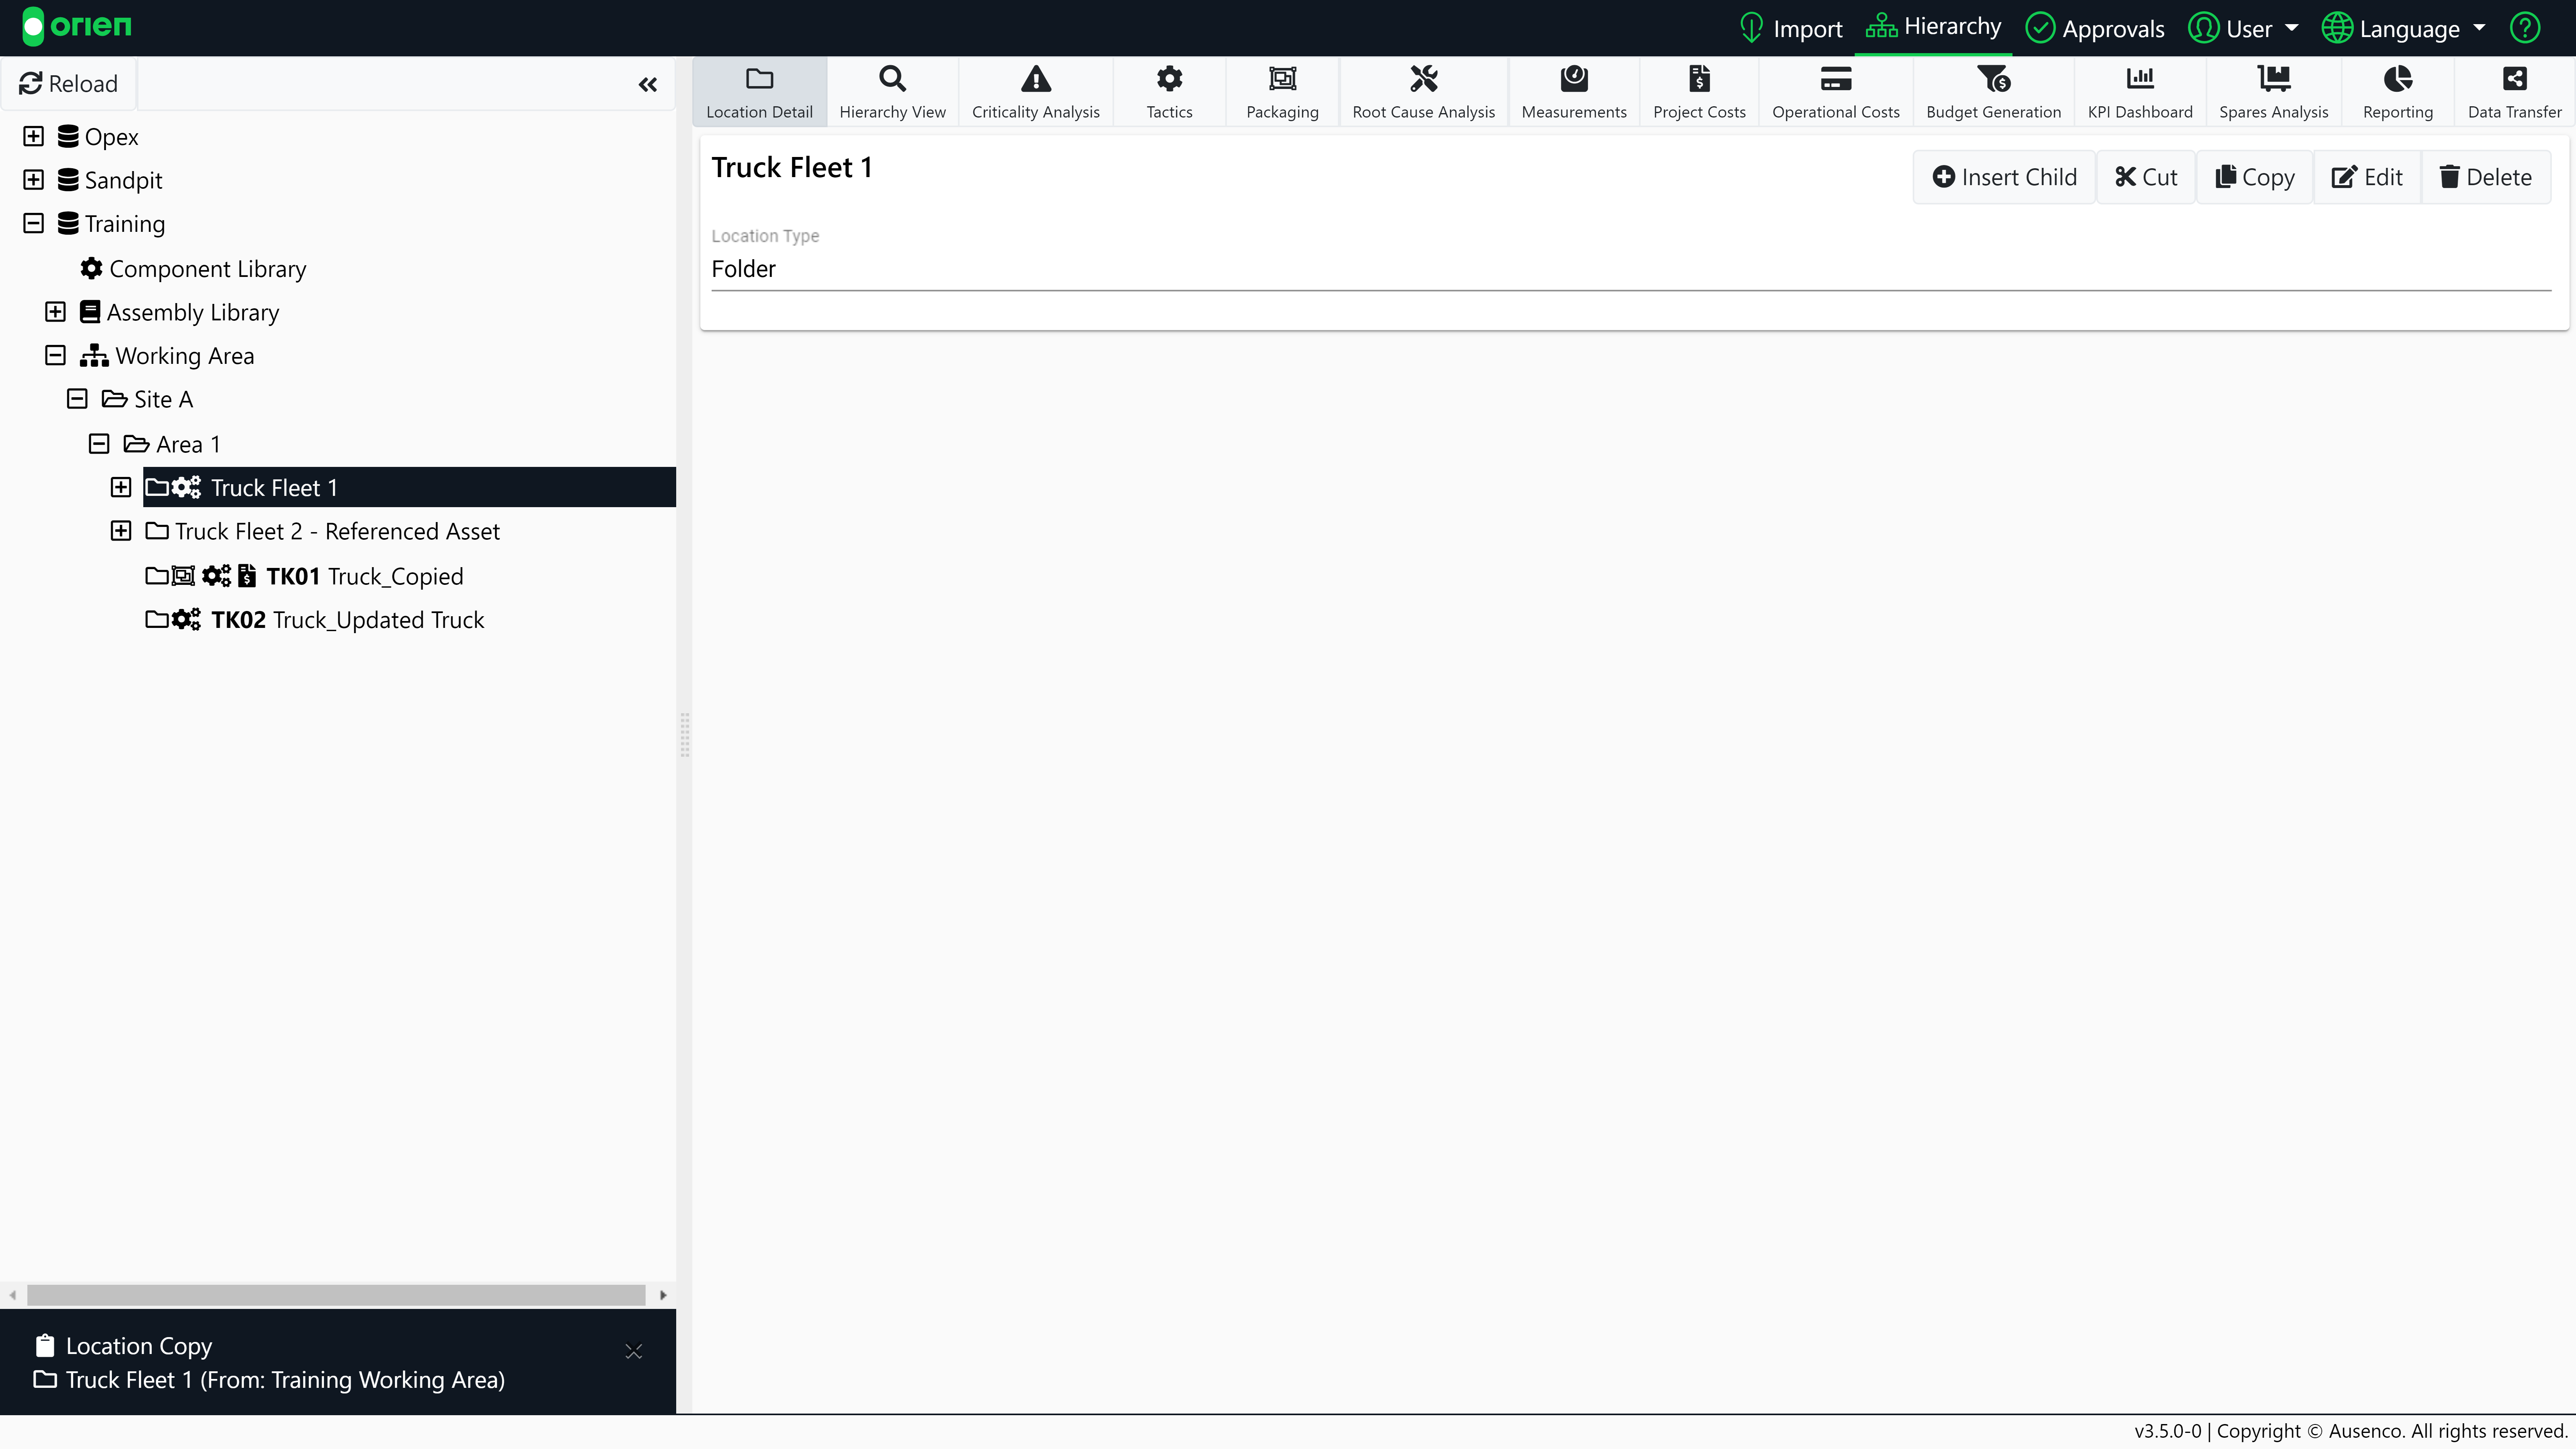
- Select a new Functional Location in the Hierarchy, and then select Paste. Select any relevant options for the Paste. For this example, we are creating a new fleet of trucks within Area 1. This fleet will be known as Truck Fleet 3.
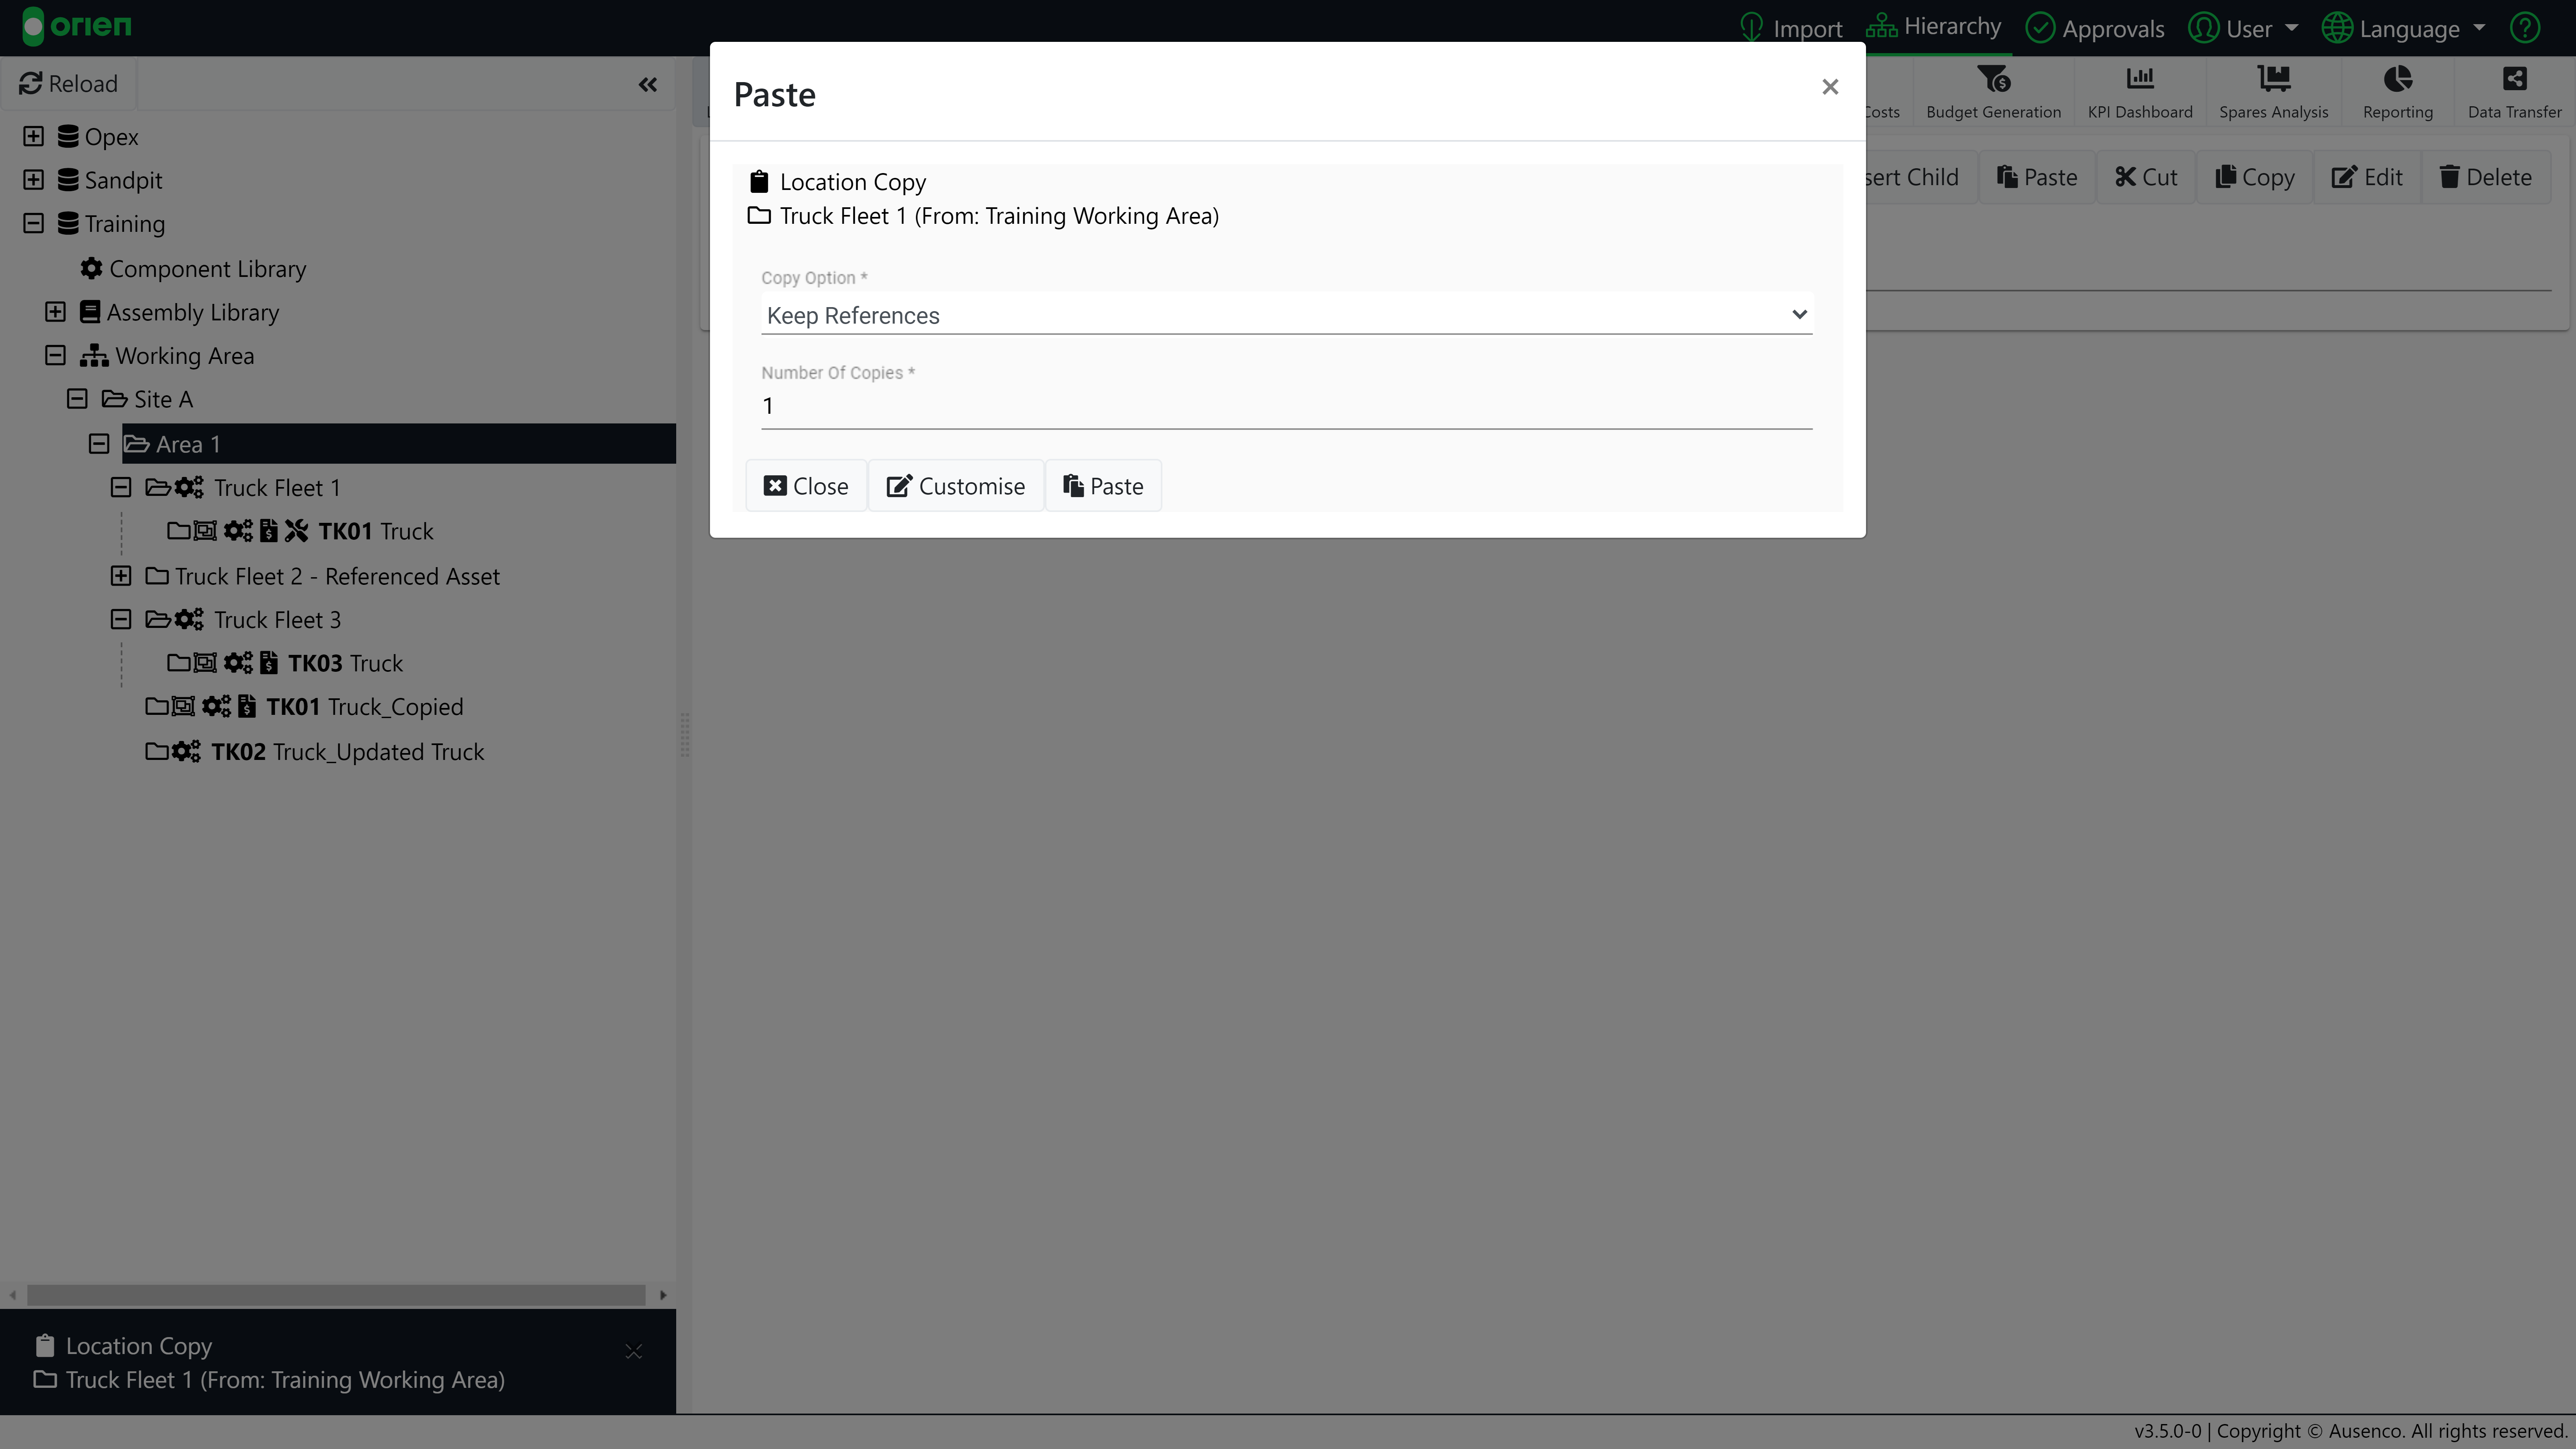
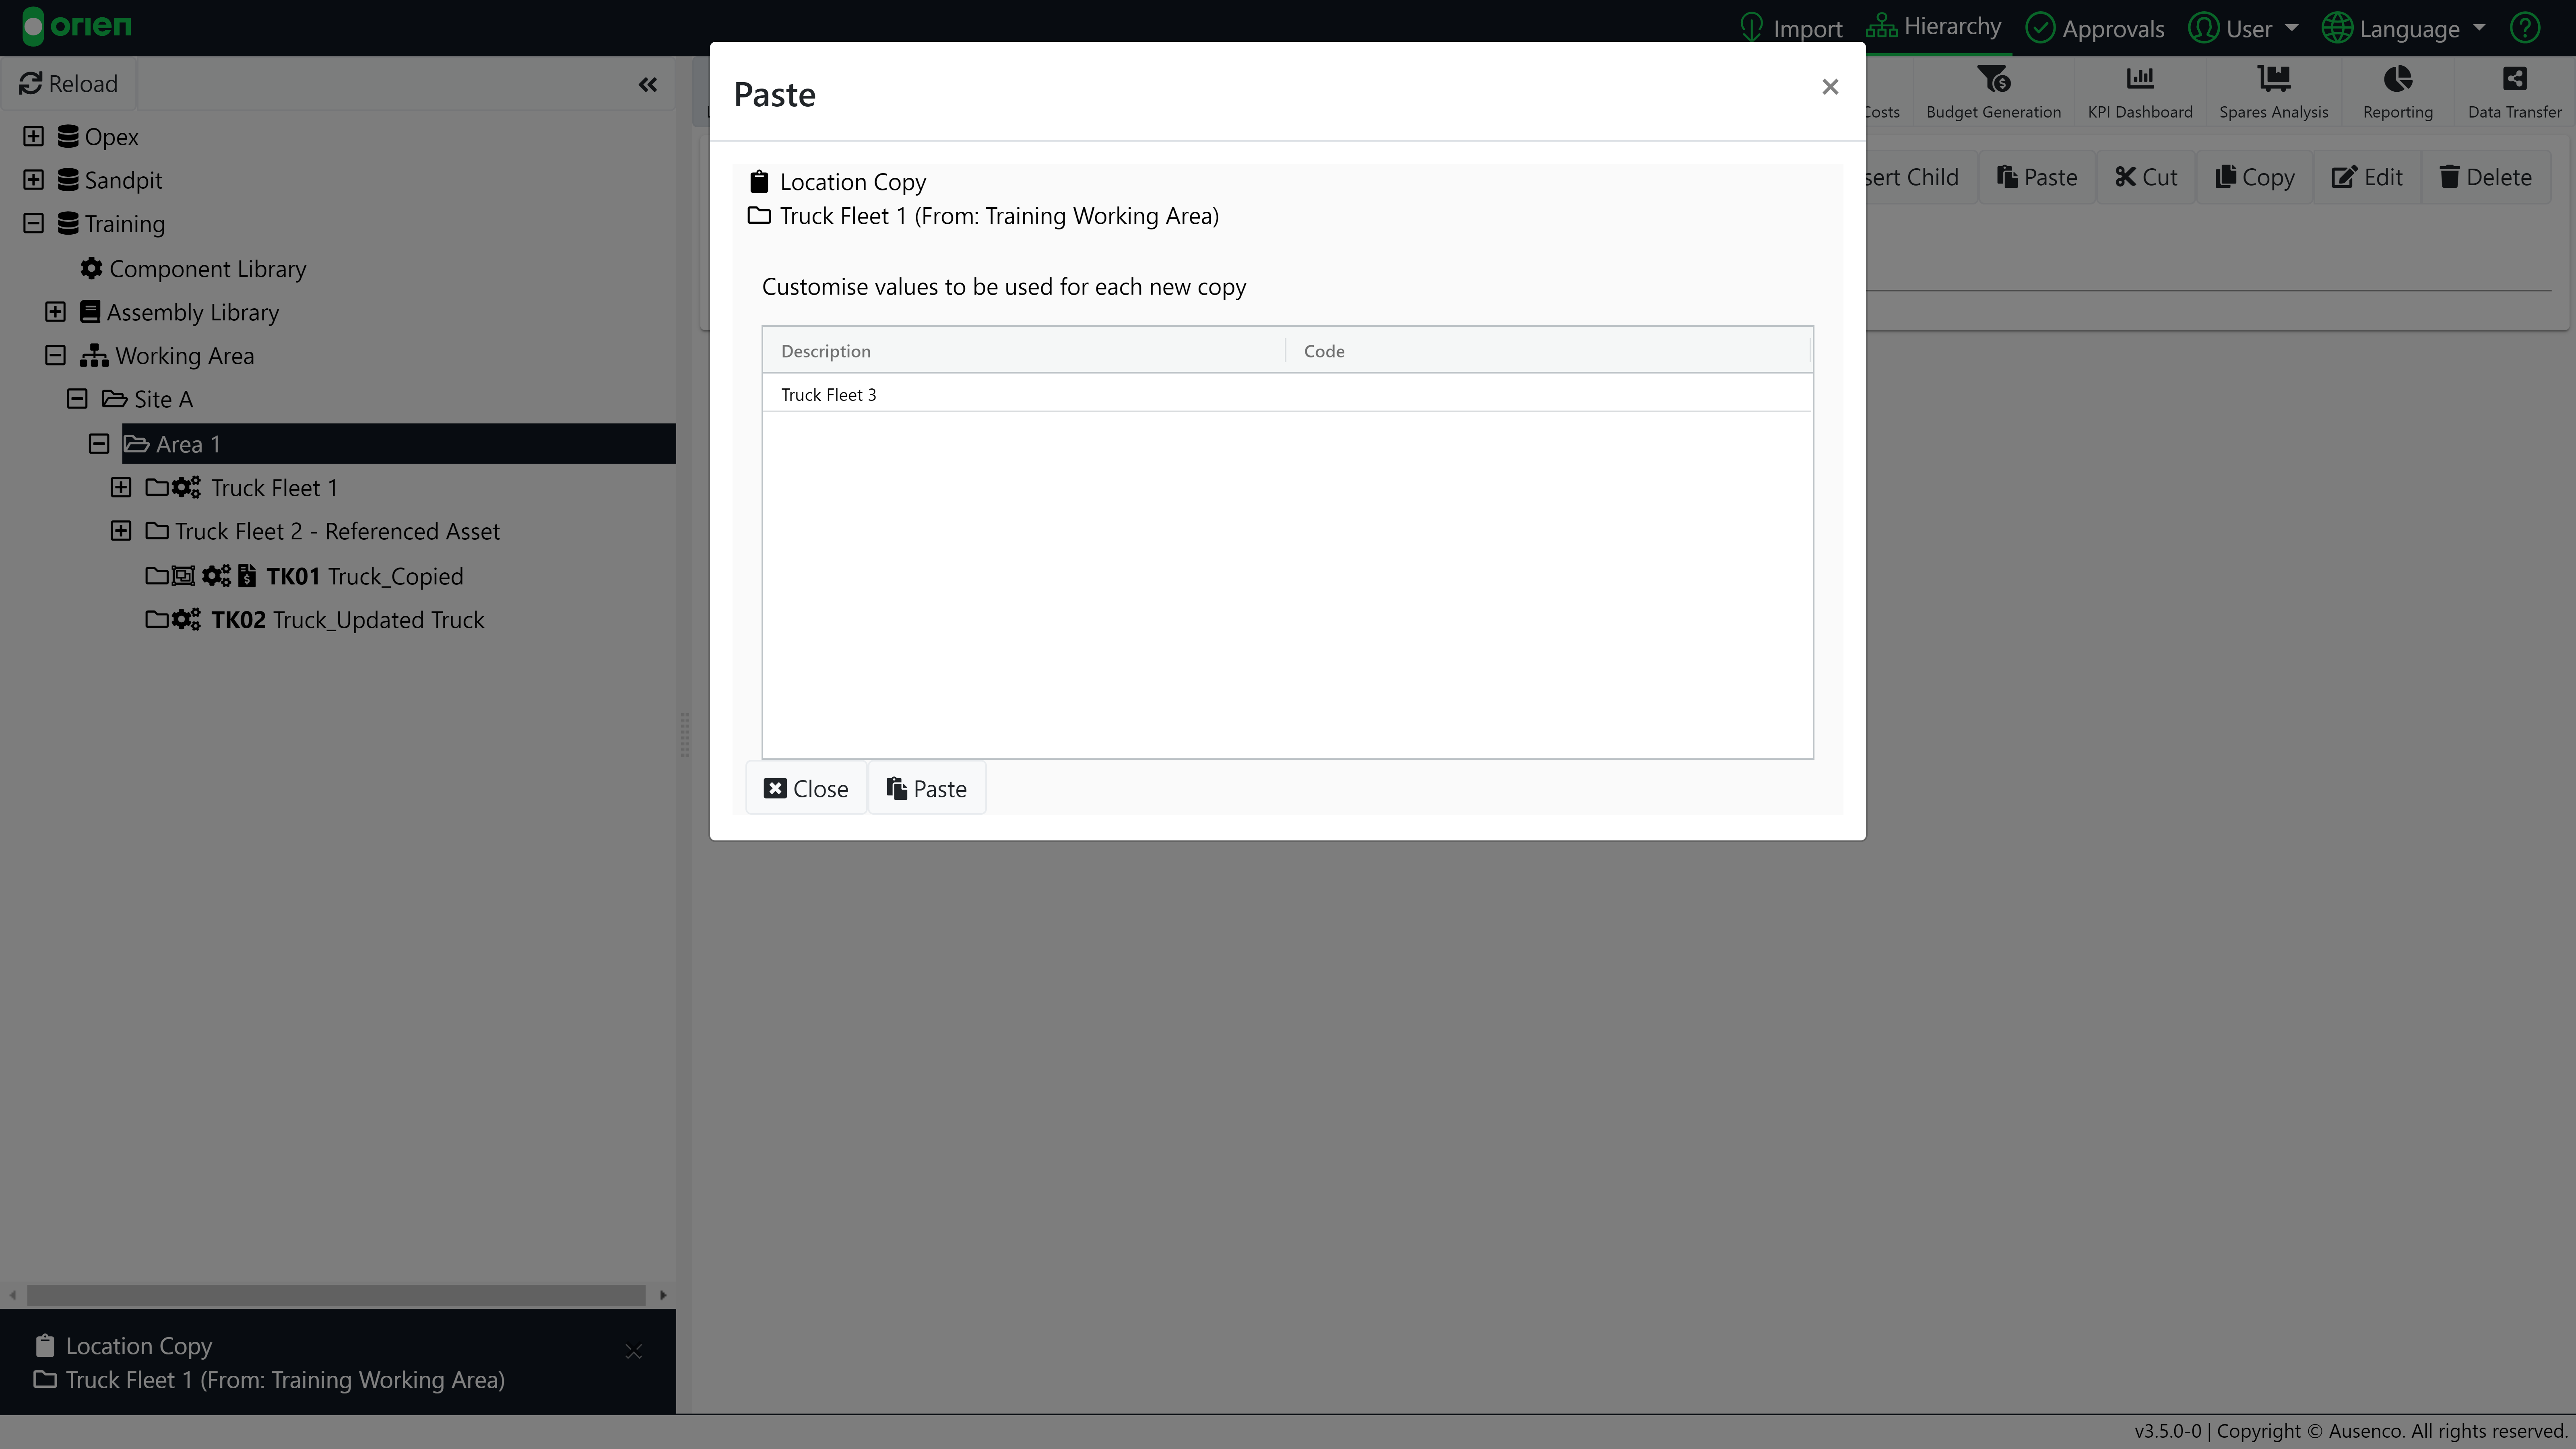
- Selecting Customise allows you to make any edits to multiple assets (i.e. we renamed the new fleet to Truck Fleet 3). Select Paste when finished.
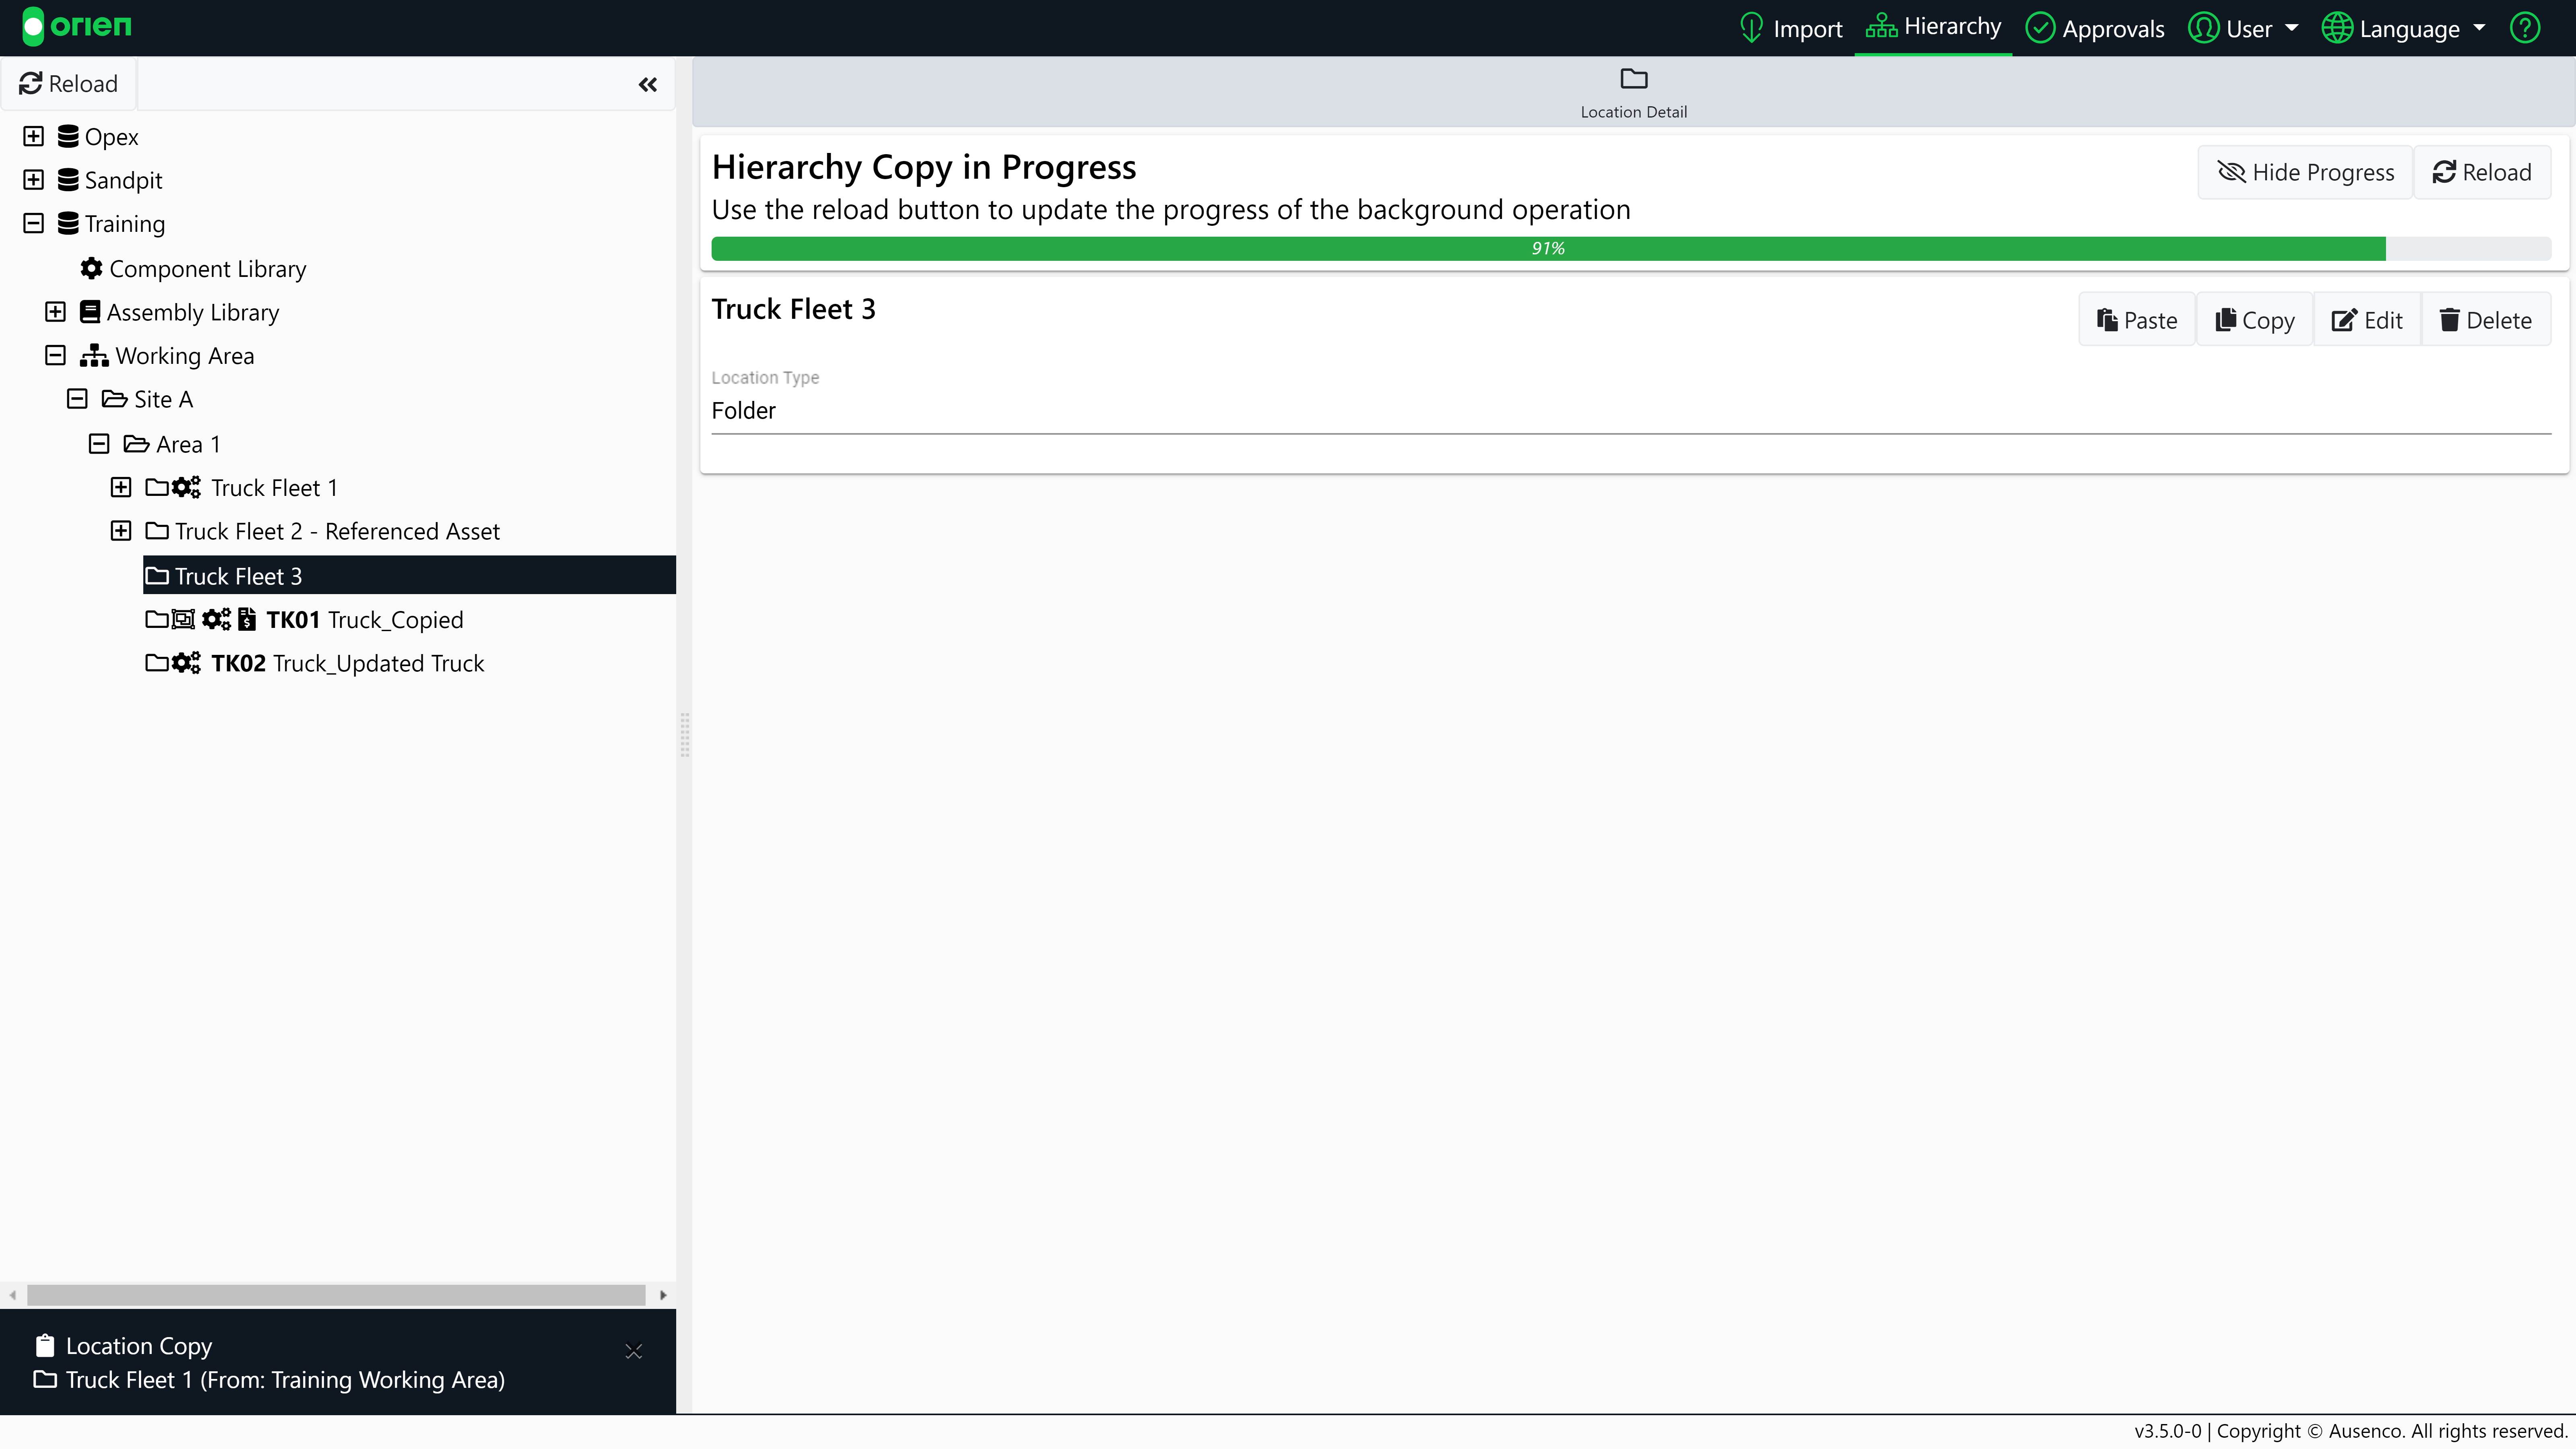
- You will be presented with a screen showing the progress of your copy/cut action. Select Reload (if required), or hide the progress screen to continue working in the system.
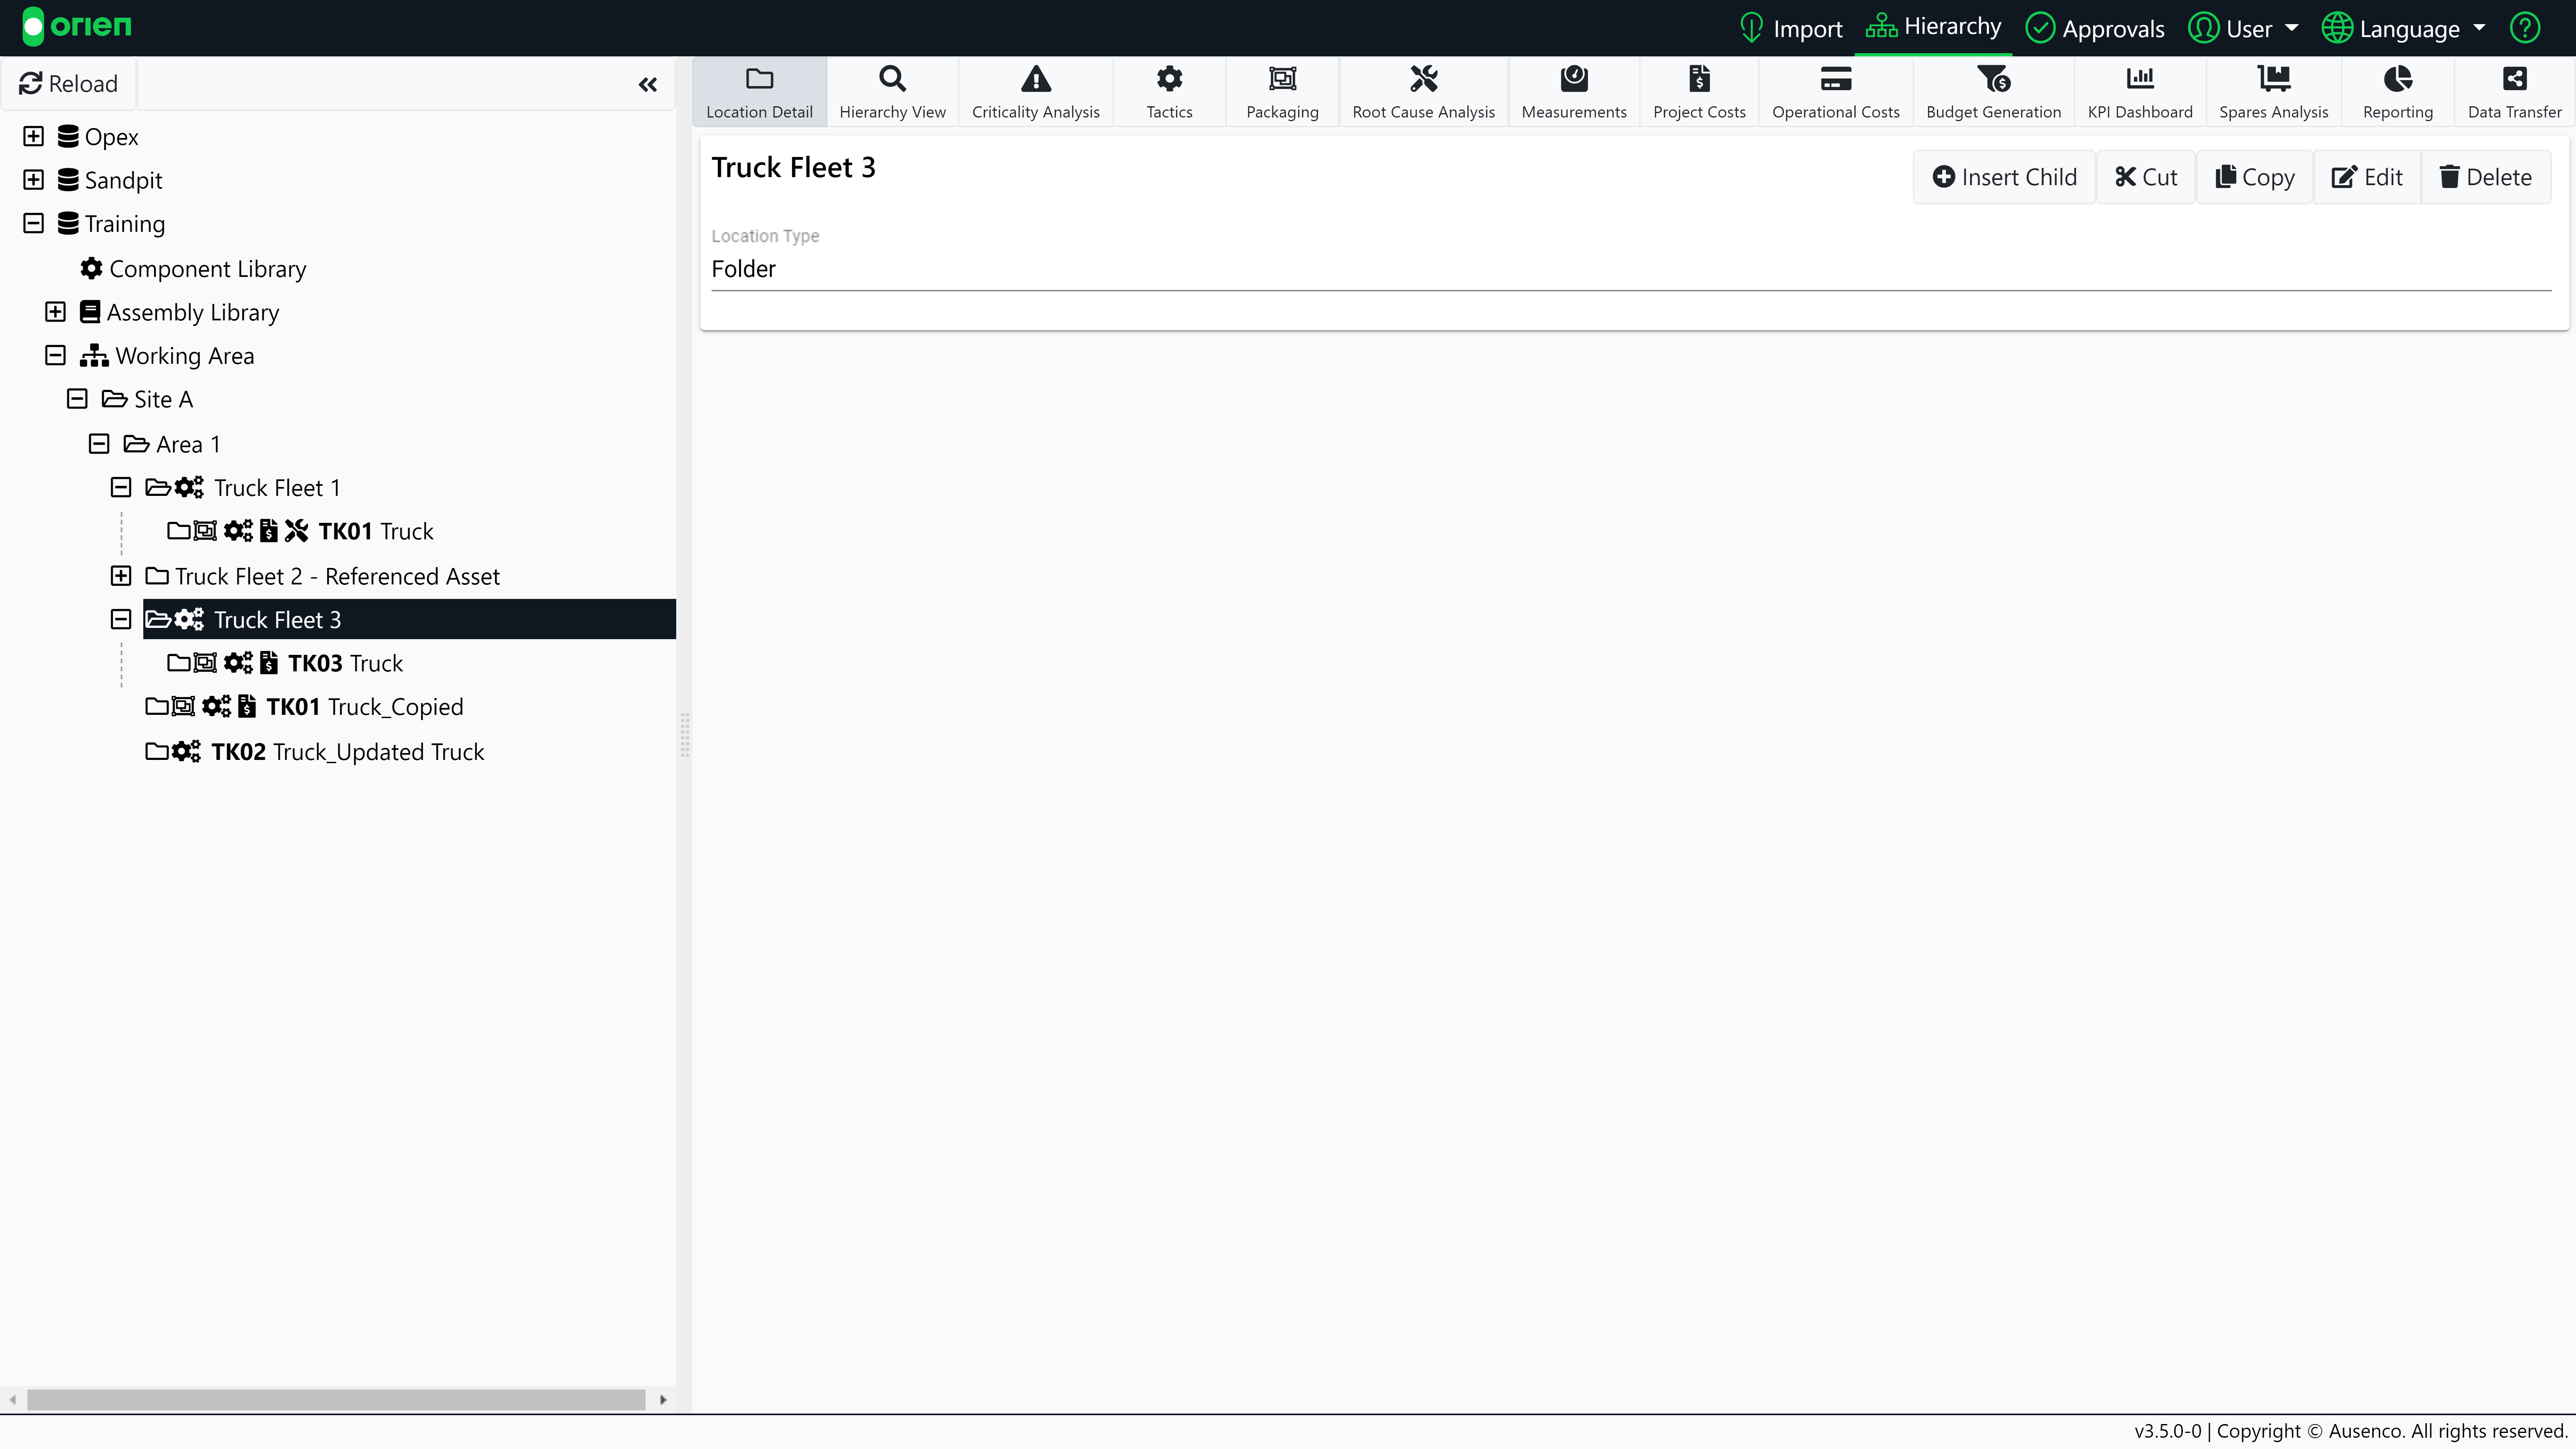
When the process is complete, the new functional location will be shown in the hierarchy. In this instance, you can see Truck Fleet 3 has now been added to the hierarchy.
If you are Cutting or Copying assets across databases you will need to Map the appropriate values to the target location's code configuration. Mapping replaces all instances of the code with a selected value. To map a code to an existing code, select Map To and then select the code that you want to replace it with. If you don't want to replace the code select Set Blank. This will remove all existing records of that code and replace them with a blank.
Copy a Location
The process of copying a location is also demonstrated in the video tutorial below:

Move a Location
The process of moving a location is also demonstrated in the video tutorial below: